- Rookie

Llamn 40X - 1000X 1600X 2000x Microscópio biológico do laboratório Microscópio trinocular
Comutação em preto e branco, ajuste de data Ajuste da imagem : exposição, restrição de flicker, Acutance. Função da câmera : Zoom digital, horizontal. Vertical, congelamento da imagem. Armazenamento : captura de imagem, vídeo, visualização de imagem, formatação do cartão TF. Comutação em preto e branco, ajuste de data. Ajuste da imagem : exposição, restrição de flicker, Acutance. Função da câmera : Zoom digital, horizontal. Vertical, congelamento da imagem. Armazenamento : captura de imagem, vídeo, visualização de imagem, formatação do cartão TF. Comutação em preto e branco, ajuste de data. Reticular, pode definir a solor, a linha, o deslocamento e a Hiddencrosshair : pode ajustar a cor, o tamanho da linha, ocultar ou exibir o balanço : câmera Auto/Manual
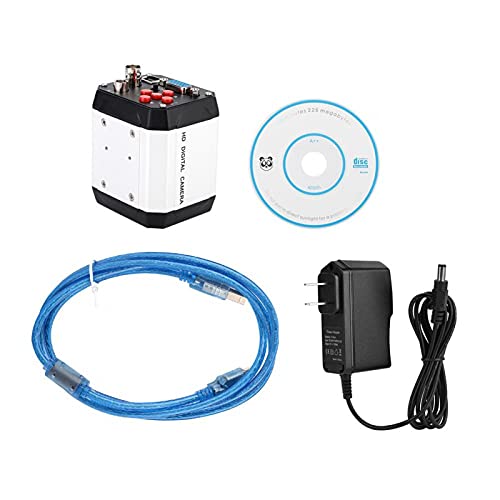
Industry CMOS. Ele pode mostrar a imagem ao vivo diretamente em qualquer monitor, projetor ou tv.Tum em mira digital e controle de cores, adicione a linha nas imagens, congele, gire, gire, especificação negativa : alojamento : alumínio da liga de alumínio : 1.
Folha de dados
- Housing:
- Aluminium alloy
- Pixel size:
- 1.43μm × 1.43μm
- Sensor size:
- 1/2.3
- Power:
- -12V/1A
- USB Image resolution:
- 1920 *1080 (for PC USB)
- Video resolution:
- 1920 *1080 @ 60FPS for , 1920 *1080 @ 30FPS 1280*720@ 30FPS 640*480 @ 30FPS 320*240 @ 30FPS for USB
- Video format:
- MP4
- Image format:
- JPG
- Color:
- Color/black and white
- Freeze:
- Support
- Exposure:
- Auto/manual
- Camera Interface:
- C CS Mount
- EV:
- +/-
- Remote operation:
- Yes
- Package including:
- 1 x Biological Microscope Set:
- 1 x Microscope Camera:
- 1 x Power supply(AU/EU):
- 1 x USB cable:
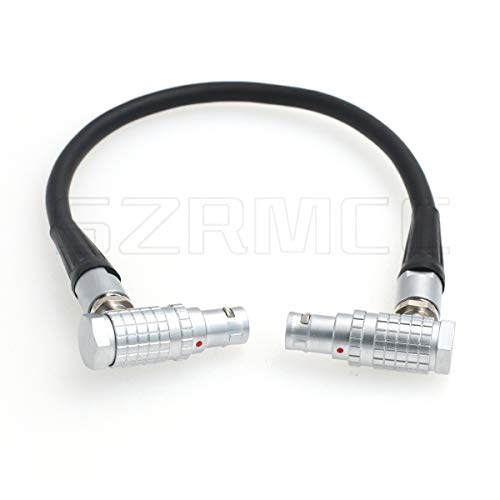
- 1 x cable:
- 1 x Software DISC:
- 1 x Remote control:
- 1 x 8G TF Card:
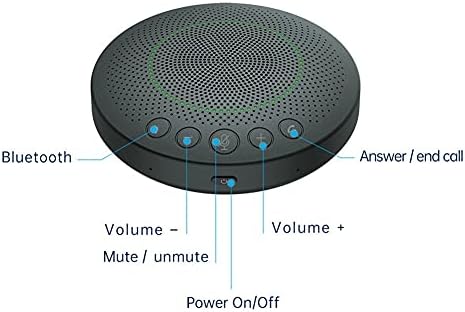
- 1. connection monitor or UVC link computer, plug in 12V power supply:
- 2.Lightly press the switch key, when the LED light changes from red light to blue light,:
- the camera is running, waiting for the display to show:
- 3.Tap the main function key to bring up the setup .:
- 4.Tap the left button or right button to jump to the recording function, tap the right:
- button again to start recording, and tap the left button again to browse the stored picture.:
- 5.Tap the white balance button to adjust the white balance automatically with button.:
- 6.Tap the zoom button to enlarge the image in the screen.:
- 7.Tap the zoom out button to reduce the image in t :